Tuesday, May 22, 2012

Tree of Life Painting

I have always loved "Tree of Life" paintings. So I went out and bought a big 'ole canvas and sat down to paint one!  I chose to use acrylics because they dry quickly, and I am impatient.
 As always, I got my coffee ready first. Then a sketched an outline lightly with pencil.
 I started with the background. I remember in high school, I had an art teacher who said "you should never paint with white".  I paint with white ALL the time. Every time I squeeze that white tube I have to giggle. TAKE THAT!
 I'm a lucky girl and have a buddy who sleeps by my feet when ever I paint.
 Painting the background like this was awful.  If I were to do it again, I would paint the background and then freehand the tree on top.
 While I waited for the color background to dry I painted the background for another tree!
 Never underestimate how pretty your palette can be!
 Once the colors were dry I went in with a fine edged brush to paint to tree
 Phew!
 To finish, I added globes of different colors!

 oh and then I went and finished the other tree:

M.

Monday, May 21, 2012

Homemade Boutonniere

In keeping with the wedding theme, I thought I'd share the boutonnieres I made for our wedding.  Because we did a DIY wedding, we wanted to do things as early as possible.  When it came to making boutonnieres for the guys, I knew I couldn't make them early if I used real flowers. Solution: use fake ones!
By crafting them out of "fake" stuff I was able to make the boutonnieres MONTHS early! For a total cost of about $10!

Step one:
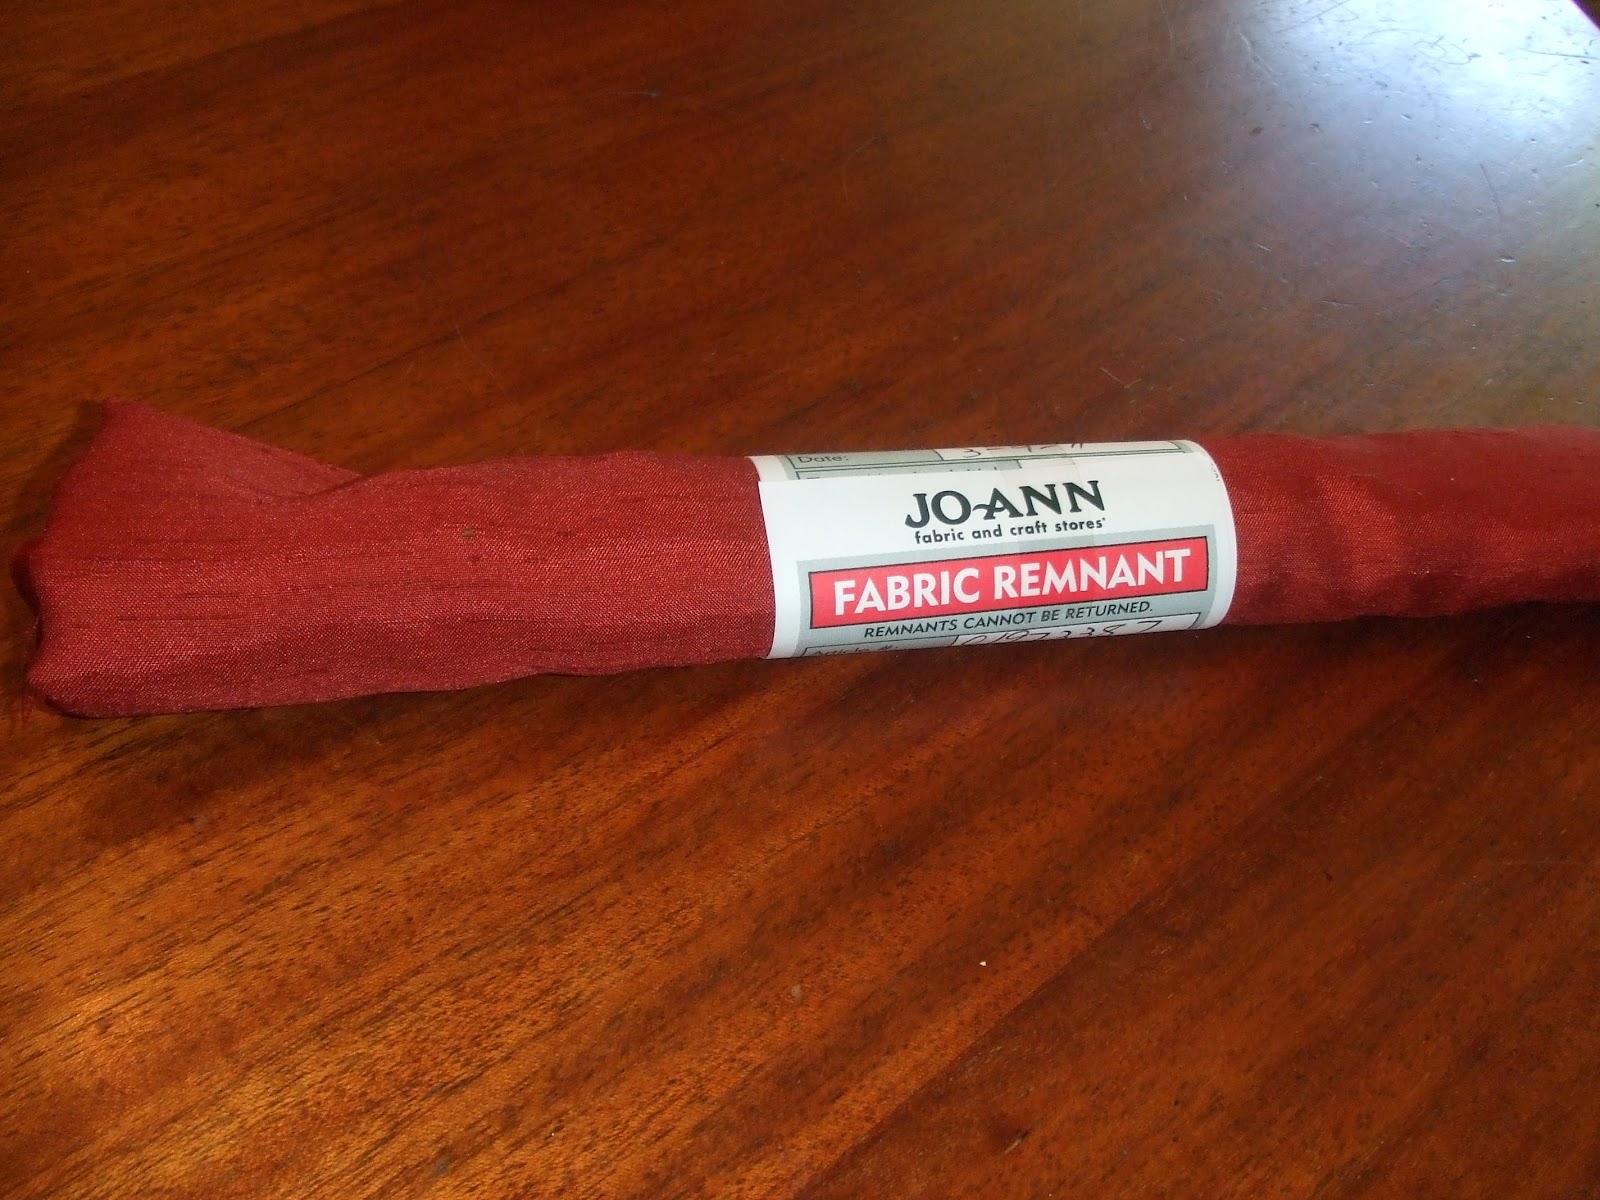
From the craft store I picked out a small bouquet of flowers with complimentary colors. I then cut the flowers off so that I had a pile of individual flowers.
 I also found this tin that came with fake rose flowers and loose leaves.
 I also picked out some twine. Choose a color that compliments your flowers and color scheme.

 Pick out some small details.

Step two:
Once I had all the pieces. I placed two leaves like so,
 A little dab of hot glue held the two leaves together.
To add a little pizzaz, I found this awesome "baby's breath" bundle. Pick out some branches that have some bulk and cut them off the bundle.
Step three:
Once you have some nice pieces, place them over your leaves and use a dot of hot glue to make them stick.
 Step four:
To make sure the flowers were close enough, I bent the stems so they were touching and then used hot glue to hold.  Thank god for hot glue.
 Step five: Once the flowers are ready, place them on the leaves so that you can still see the leaves and baby breath combo. Use hot glue to stick the flowers to the leaves. Wrap your twine around the flower stem so you can't see the plastic.  To finish, use a rose bud, or other choice flower to hide the plastic stems of your flowers. Hot glue time! Stick the rose to the bundle. I used a small pearl in the center to complete the look (and cover some glue).
 Voila!!  I made the groom's boutonniere have three flowers and a large rose. Not only did they look great, but from a distance they look real!
 Enjoy!!

Thursday, May 17, 2012

DIY Vintage Wedding Bouquet


For my wedding I wanted to create a bouquet that would last and be personal.  I decided to create a bouquet out of vintage broaches, pins, and buttons from my grandmothers.  It was such a special piece! Unlike a flower bouquet, this handmade bouquet is timeless.

Step one:
Gather vintage pins, broaches, buttons, or other special mementos
 (my grandmother collected buttons and my husband's grandmother had some awesome broaches!)
Step two:
You will need something to hold all your found items.
For the "stem" I used a stick that I found in the woods and cut to the right size.

For the body of the bouquet, I used a grapevine ball that I picked up at a local craft store like Michaels.

Step three:
Place your "stem" through the body and use hot glue to attach.  Don't worry if you can see the glue, you will cover it with your mementos.

Step four:
Simple a matter of gluing your pieces on to the bouquet body.  I found it easier to place the larger items first and then use the smaller items (such as buttons) to fill the spaces.
Step five:
Find a piece of fabric that suites your color scheme.  In my case, my husband and I had touches of red in our wedding so I chose a red silk fabric. I saved a ton of money by buying a remnant!
Use the fabric to wrap around the base of the body to give a soft and pretty effect.

Step six:
Check out your new and beautiful bouquet!


I love this piece.
Enjoy!


M.

Hi there!

My name is Molly. I am a wife, daughter, sister, nurse, and artist.  My passion is making art.  Recently, I have enjoyed taking photographs as I paint that show the process.  What better way to gather those images and share how I paint than with a blog!
So here we go!


Related Posts Plugin for WordPress, Blogger...